Filmmaking Tips from @jacques_crafford | Featuring the Sony FX6
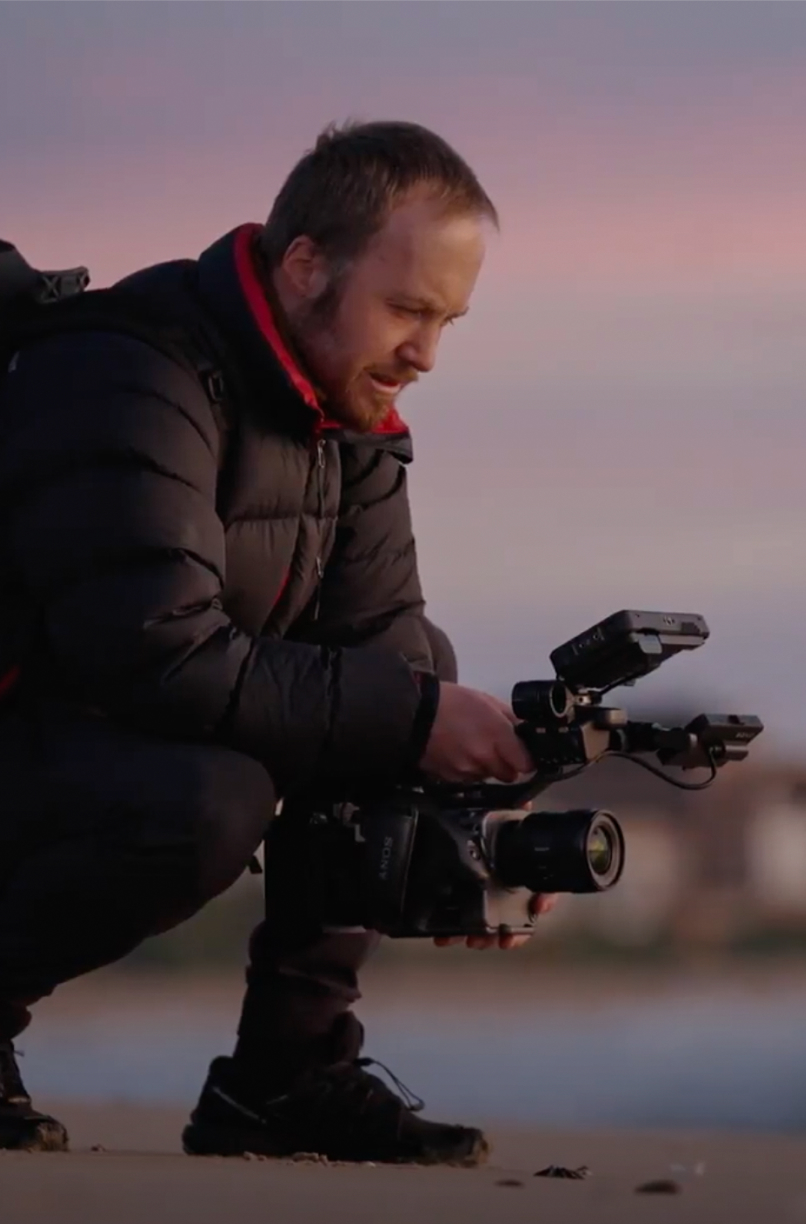
Jacques Crafford
South Africa
With a penchant for the great outdoors, film director Jacques Crafford specialises in capturing breathtaking landscapes through his lens, turning them into cinematic masterpieces. He has been shooting with the Sony FX6 for over two years, with a focus on tourism, travel and adventure films.
Ahead, Jacques shares tips on how filmmakers can create visually impactful scenes using the FX6. He goes into detail on the various set-up, shooting and usage techniques to help you achieve the maximum performance out of the camera.
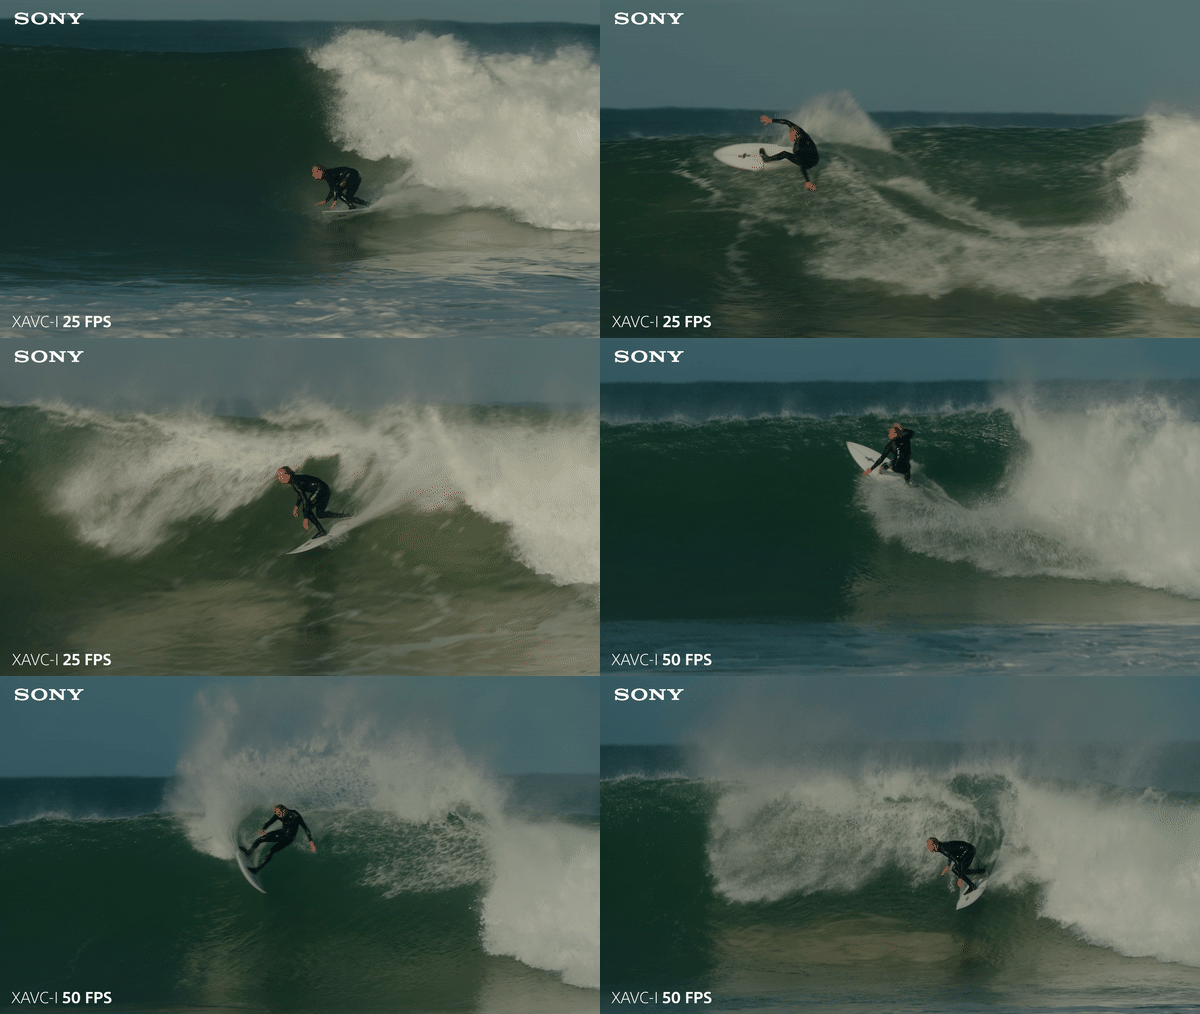
A surf film by Jacques Crafford, shot on Sony FX6
This is a short film shot entirely on the Sony FX6, featuring the top surfer in South Africa, Adin Masencamp. This captivating piece showcases the FX6's ability to effortlessly capture action sequences, delivering smooth and dynamic footage when using the right cinematic settings.
Wondering how to produce professional-looking videos on the FX6? Let's dive right in.
FX6 Introduction
Chapter 1: The FX6 at a glance
In the first chapter, you will learn how to navigate the menu and choose the right codec for the camera. You'll also be introduced to the various shortcuts as well as a brand new feature—the internal ND.
To start off, the FX6 is a great option for aspiring filmmakers due to its compact and user-friendly design. It also comes with advanced capabilities that makes it suitable for professional use. What Jacques really likes about the FX6 is that it’s capable of recording in XAVC-I codec, which can accommodate higher bit rates and larger file sizes.
Navigating the FX6 is effortless—simply press the menu button to access the status menu, allowing you the option to change your most frequently used settings. Jacques’s go-to function is the slow & quick (S&Q) mode, which he uses specifically for fast and slow-motion shooting.
He explains, “Sometimes you want to see the real speed at which a maneuver happens, and sometimes slow motion just makes it more interesting to watch.”
The built-in variable ND filter is also a game-changer, as it enables you to shoot with a wide open aperture to maintain greater depth of field. You can switch the filter to auto mode for a more seamless lighting transition, perfect for continuous shots in changing exposure conditions.
Cine EI and S-Cinetone
Chapter 2: Understanding Cine EI and S-Cinetone
Now that we've covered the basics, let's take a look at the Cine EI mode and S-Cinetone preset, along with tips on how you can correctly expose S-Log3 on the FX6.
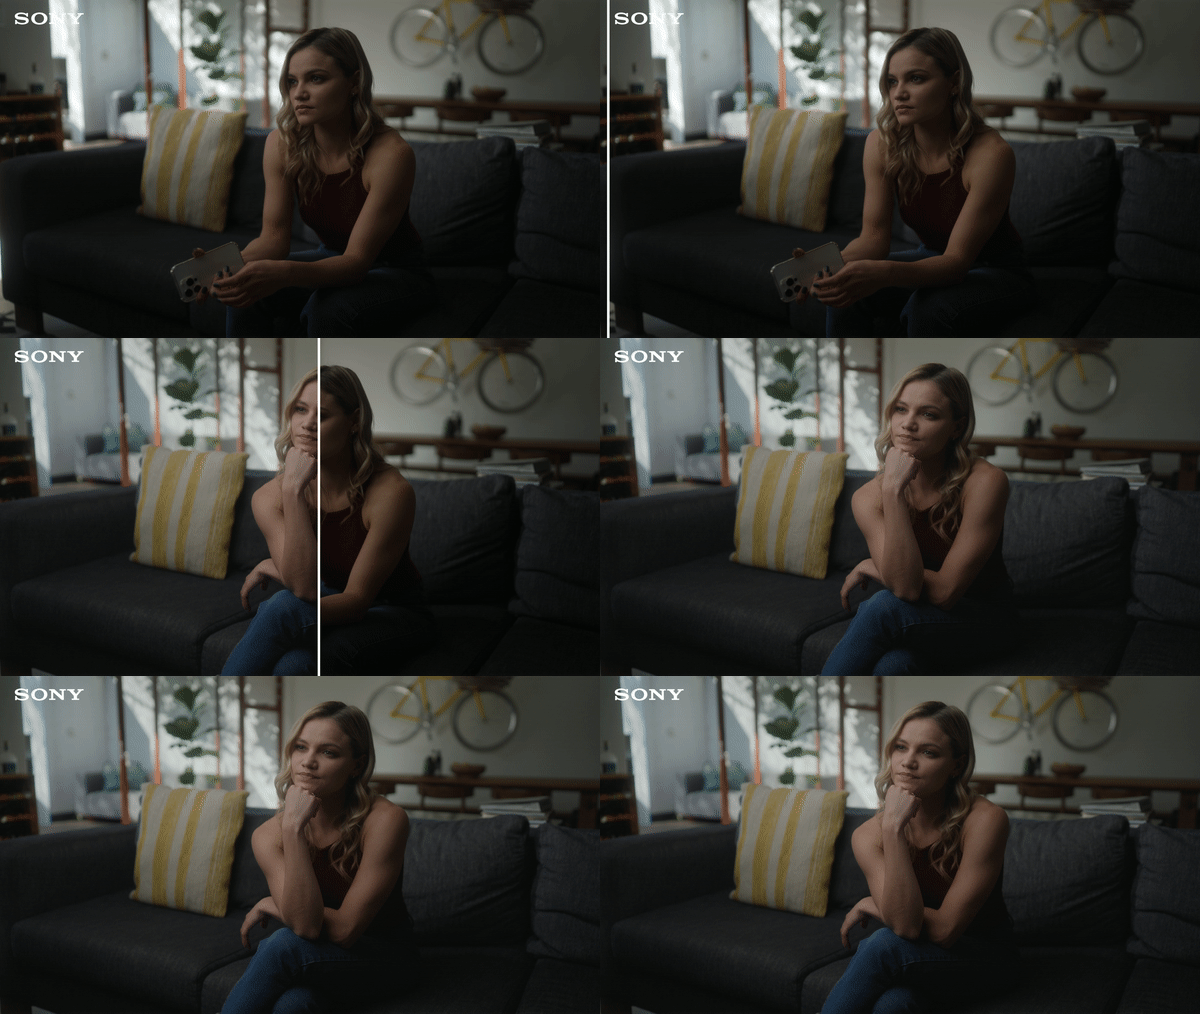
Cine EI is one of Jacque's go-to modes – it utilises the full capabilities of the camera to record in S-Log3 with the most optimal dynamic range. When working with this profile, it’s important to apply a LUT. A LUT can be used to enhance the image for on-screen monitoring, without affecting the post-production output.
If your goal is to shoot and deliver footage straight out of the camera with minimal post-production adjustments, the S-Cinetone profile is your best bet. Designed for quick turnarounds, S-Cinetone lets you achieve a cinematic look with little effort. However, it’s worth noting you’re not likely to get the same performance as compared to S-Log3.
Autofocus
Chapter 3: Navigating the autofocus
In this chapter, we take you through everything you need to know about autofocus.
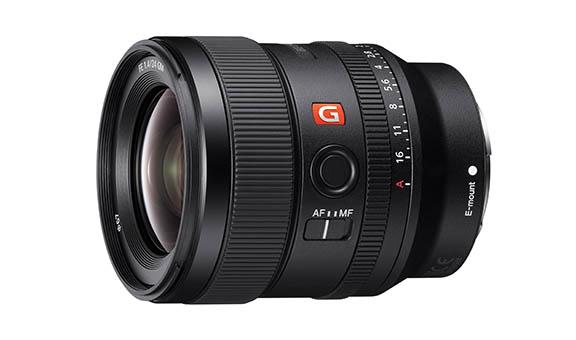
Jacques recommends using the original Sony lenses for optimal focus performance. There are two different options for toggling between manual and autofocus: the camera itself has an AF-MF switch on its front panel, while the lens comes with a dedicated button for this purpose.
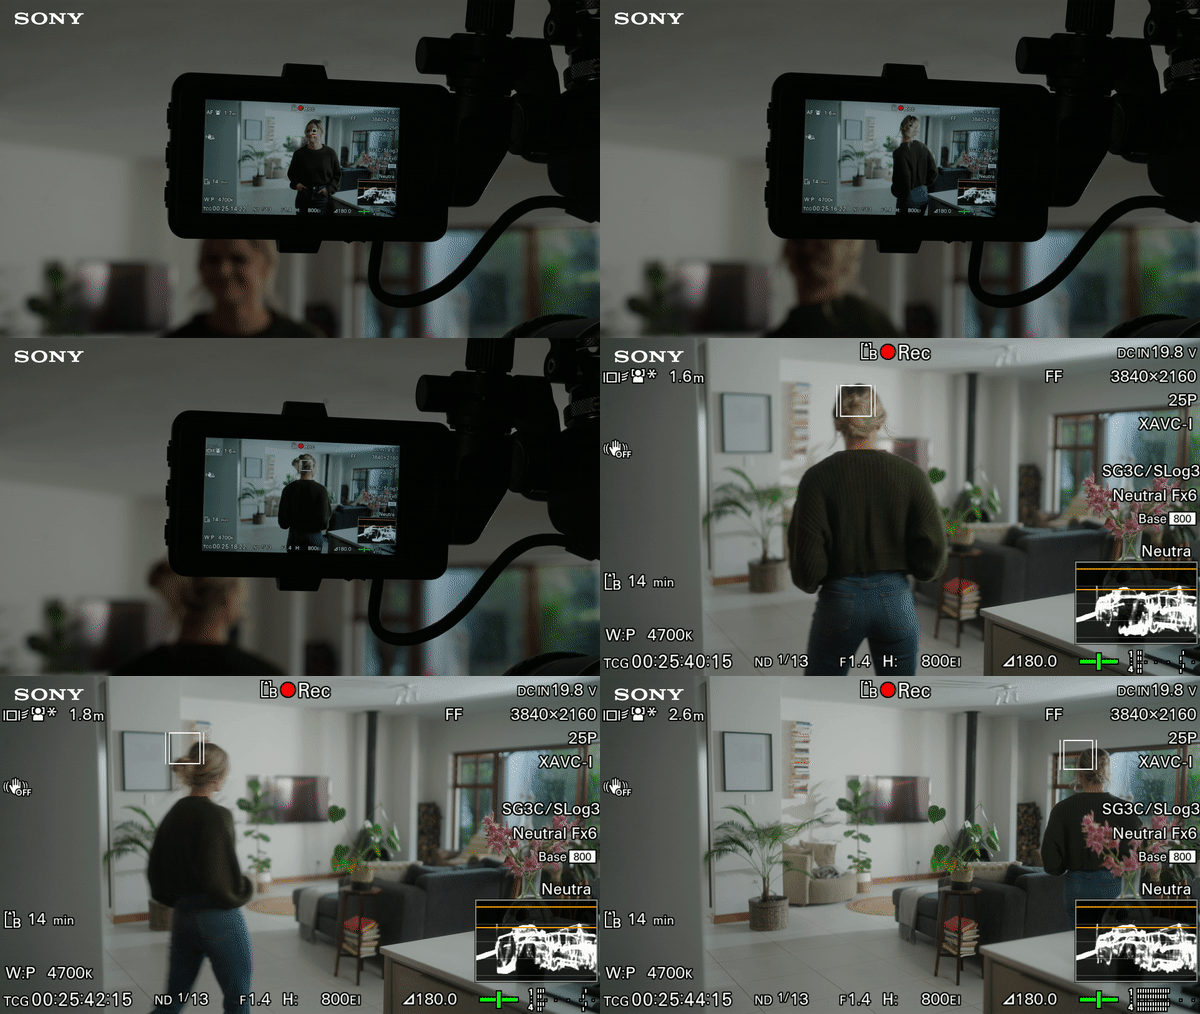
The FX6 has several focus modes, such as the wide mode that comes with real-time eye autofocus. This ensures that your subject’s eye is always in focus, no matter how shallow your depth of field is. But there are limitations when it comes to capturing subjects with alternative focal points. And that’s where real-time tracking comes in.
Focus tracking is Jacques’ preferred autofocus method, and it works amazingly well in scenarios where the eye isn't visible to the camera. For example, if your subject is facing away from the camera, you can select a reference point anywhere on them and observe how the focus still remains consistent regardless of their movements.
The FX6 also features a hybrid focus mode with custom transition speeds and subject sensitivity. To do this, simply keep the lens’ AF button on while switching to manual focus on the camera. This mode allows accurate and precise focusing in all modes and frame rates.
Rigging setups
Chapter 4: Choosing your rigging approach
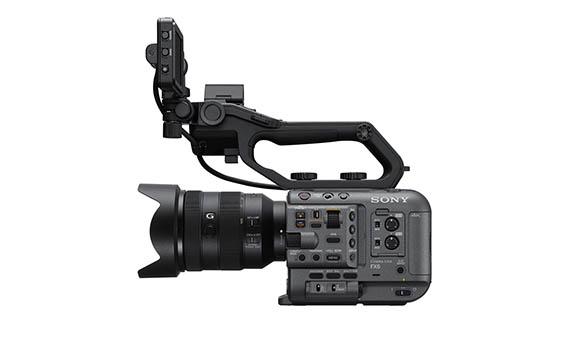
The FX6 is highly adaptable and ideal for a wide range of configurations. Ahead, we delve into the different types of rigging setups when it comes to filmmaking.
The FX6 boasts a standout feature of being operational straight out of the box, without the need for extensive setups. Its ergonomic design makes it incredibly flexible for smaller productions, with just enough bulk to place it comfortably against your body. This works well for slight movements or static shots.
For more dynamic movements, you can use the side handle for handheld shots and the top handle for low-angle shots. A shoulder mount configuration can also be helpful in providing an anchor point for extra stability.
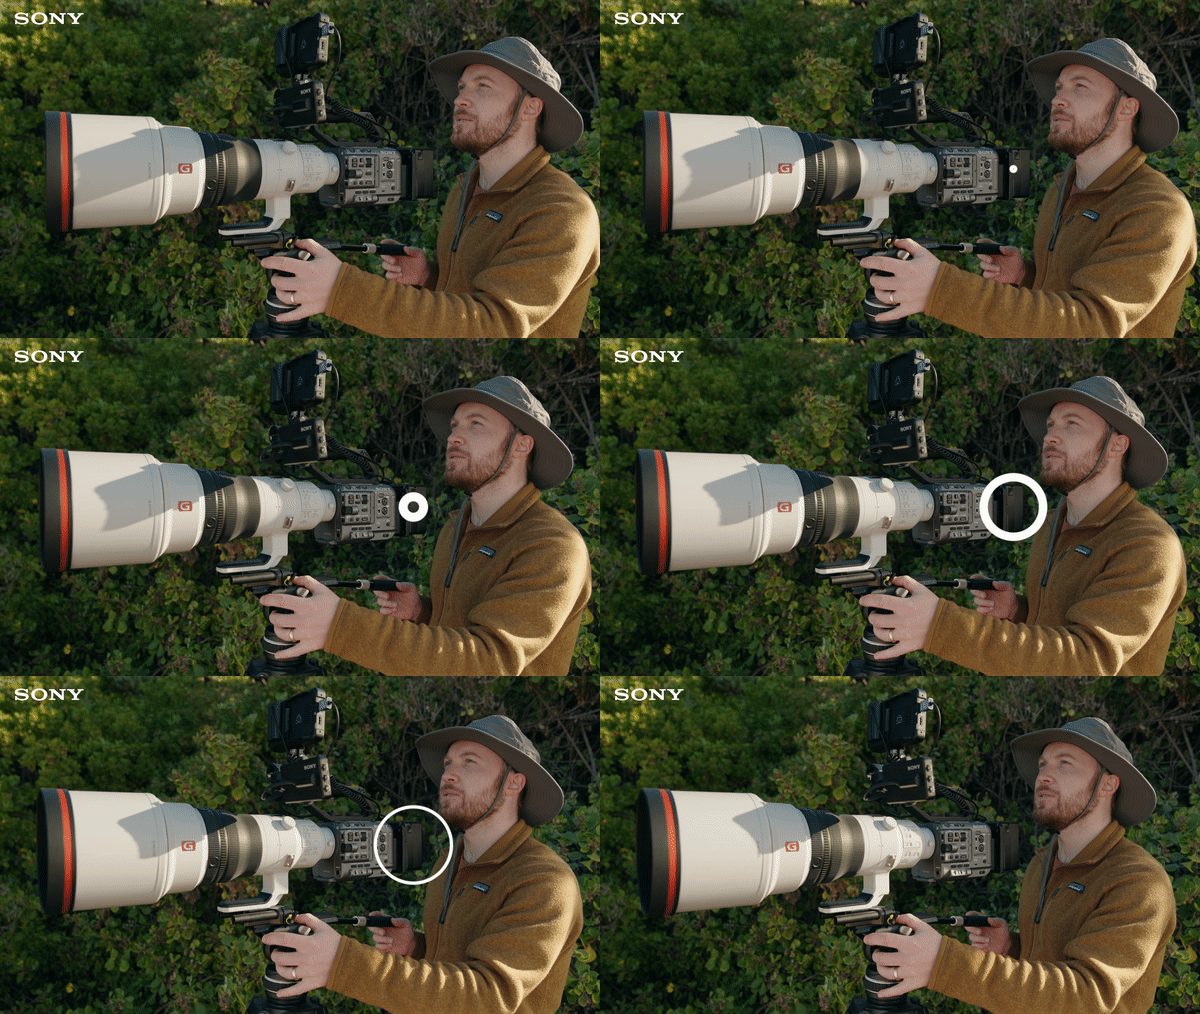
When mounting on a tripod, finding the camera's centre of balance is crucial in preventing any unwanted forward or backward tilts. To counter this, consider adding a V-Mount battery system at the rear to restore equilibrium and reduce micro-vibrations. Doing so will help you to achieve more fluid movements.
Likewise, you can also integrate the FX6 with a gimbal, but keep in mind that you won’t be able to record high-quality audio with this configuration. To capture top-notch audio, have off-camera recording ready when using a gimbal setup.
Firmware Version 4.0
Chapter 5: New Firmware Version 4.0 updates
Here, we will introduce the new features that come with the latest firmware update. One of the biggest improvements is the option of autofocus in S&Q mode, which allows you to choose any frame rate you want regardless of your base frequency.
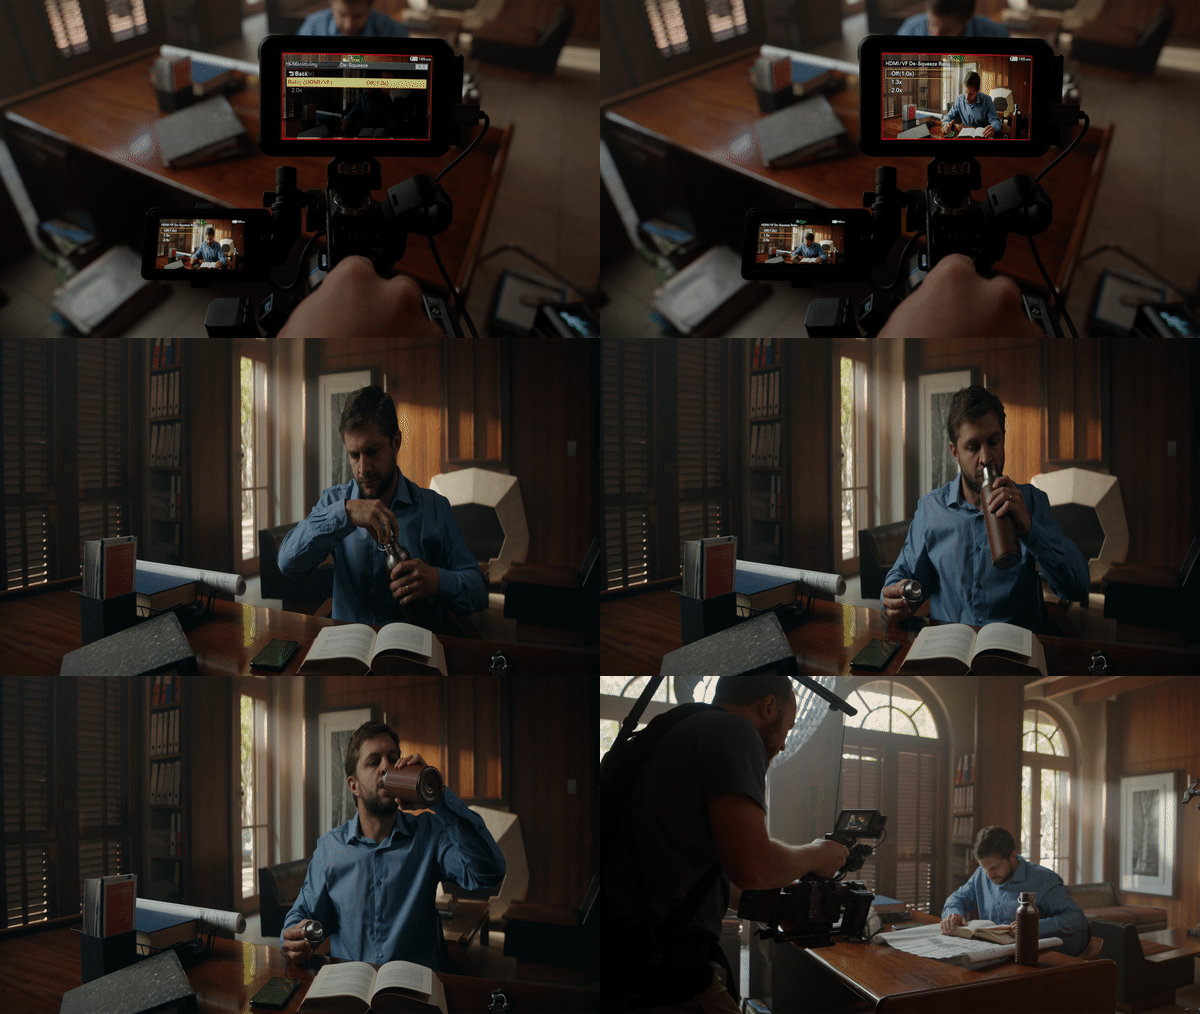
Another exciting addition is the de-squeeze function that lets you properly display anamorphic lenses on the viewfinder and HDMI output. It works just like a monitor LUT, which means your footage in post remains untouched the way it's supposed to be.
Version 4.0 also supports new shooting modes in S-Log3. On top of Cine EI, there are now two additional modes to choose from: CineEI Quick and Flexible ISO. These modes enable you to capture the highest dynamic range from the camera and are great for users who desire more control over the exposure.
A & B cams
Chapter 6: A & B cam combinations
In the final chapter of this series, we explore the various ways the FX6 can be used in unison with other cameras in the cinema line. Despite their differences, these cameras are all capable of producing beautiful imagery with the same colour performance, making them ideal for seamless integration.
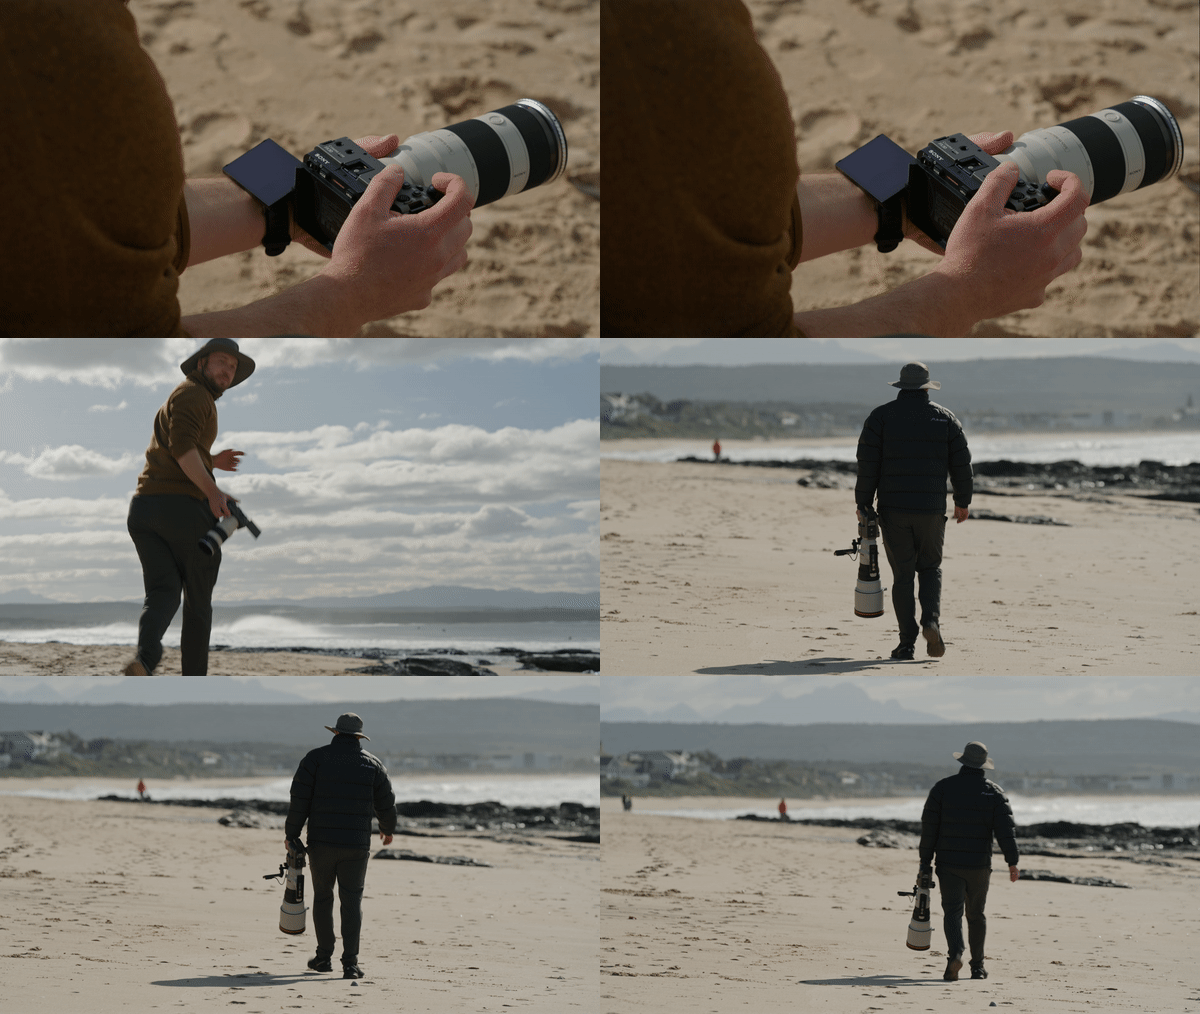
For filmmakers with a budget, one tip is to utilise smaller bodies as an extra B-cam next to the FX6. For the surf film, Jacques had a FX30 on standby for those quick handheld shots without having to remove the FX6 from the tripod. He adds, "This helps for those unpredictable moments where the only thing that matters is getting the shot. Having the same colour is a big win!"
Overall, the FX6 makes for a versatile tool for both seasoned and aspiring filmmakers. If you're looking for a compact yet high-performance camera that delivers top-notch cinematic action, this is the one for you.

